Valom 1/48 An-2 Colt Kit Build Review
By Fotios Rouch
| Date of Review | April 2019 | Manufacturer | Valom |
|---|---|---|---|
| Subject | An-2 Colt | Scale | 1/48 |
| Kit Number | 48002 | Primary Media | Styrene |
| Pros | Best styrene kit of the An-2 in this scale | Cons | See text |
| Skill Level | Intermediate | MSRP (USD) | Out of Production |
Build Review
The Antonov An-2 is a love it or hate it proposition. You can blame it for being huge for a biplane, ungainly, maybe a bit weird but you cannot call it ordinary! This thing has been around since around WWII and is still very active around the world! Personally, I find it very appealing. I remember seeing my first one, live and up close in 2007 at the Casa Grande Cactus Fly-In.
For the longest time there were no real models of this aircraft. Then there was an all resin kit in 48th scale by Neomega. And then the flood gates opened some years later and there were injected kits by Valom, Bilek and HobbyBoss in 48th scale! I bought all three at different times. I like the Valom kit surface detail the best. The Bilek is so so and HobbyBoss kit is not so good. As such, I ignored the HobbyBoss kit and focused on the Valom kit.
After I started the project my Russian expert Dimitri from DMold told me that he too does not like the HobbyBoss kit surface details but he like the front fuselage area the best. I think he has a good point, but I am not going to graft it onto my Valom kit.
I stole the detailed resin multi piece engine compartment from the Bilek kit which is very nice (Bilek gives just a generic engine front) and used the Neomega cockpit that is also sold separately. The Neomega cockpit is nice but it misses the top bulkhead structure. I cut that portion out of the Bilek kit and adapted it to the resin cockpit.
So far, I have completed the engine and the interior and added my own parts where necessary. Closing up all that will be interesting, and I fully expect some adjustments to be made.
Some parts fit great, like the clear fuselage windows. They went in very well and a little bit of the Tamiya glue fixed them in place just fine. The rest of the story is not so great. Part of it is that the model is fighting me and part of it is me adding complexity with resin and modified parts.
The fuselage took days to close and it still had issues. I started from the tail and slowly worked towards the nose. Still, putty was required and a lot of rescribing and riveting will be needed. I also added wiring and details on the back side of the instrument panel as it will show through the canopy. The wings are butt joints and good luck with that if you just freestyle it. I drilled holes on the wings and fuselage and inserted rods as guides. This took two days. Doing the top wing also took two days because it was next to impossible to align the two wings and keep them at the proper dihedral at the same time. The Bilek kit on the other hand has a much better top wing execution since it keeps the whole top wing in one piece (even if it has less detail or not a great fabric execution).
Once I finally had an airframe together, I moved back to working the engine. There are parts from two kits here and extras like Quickboost resin and a REXx metal exhaust. Naturally, little of this fits together and the engine assembly does not fit to the fuselage without surgery. The resin cooling flaps fit OK in some areas and are short in others. I added styrene to make the improvement parts look right for the kit openings. The metal exhaust will not fit this kit as it is made for the Valom kit (even though it says that it fits the Bilek kit as well) so I had to Dremel a path for it.
The build continued with me trying to make sense of the Valom top wing center section. This section is all metal with many panels and rivet detail. The problem was that the Valom kit had panel lines that did not match any drawings or photos and had panel lines that were not symmetrical right to left. I compared the area to the Bilek kit and it was much better and closer to the photos and drawings. So I used that as a guide and rescribed the whole top center section of the wing. I used many scribing templates and new tool I just bought for riveting. The tool works OK and I used to rivet the panels.
I then worked the locating holes for the landing gear. Surprising that Valom does not have the mold tooling for such jobs. The gear supports come in parts with no clear way to figure out the exact geometry. I used the Bilek kit struts as a template. Also, there are no locating holes or structures for securing the landing gear struts to the bottom fuselage. Bilek gives more detail in that area and Trumpeter has them overdone. I scratchbuilt mine but I think I overdid the size.
The engine cowling and firewall detail went on next. I had a nice info exchange with DMold and the consensus is that Trumpeter has the forward fuselage more accurately represented than Bilek or Valom. Who would have thought! Adding the flaps/ailerons was a royal pain with no clear instructions so photos were consulted for that. Results are not stellar though.
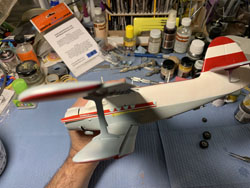
The landing gear was secured in four steps with the help of a ruler and a jig. The supporting legs matched my styrene setup pretty good and the model sits square on its legs. The multipart canopy glazing took forever to get in place. Some small gaps were left behind, and I filled them with tiny slivers of styrene.
The propeller was rejected as it came in the Valom kit and i used the Bilek parts instead. I need to work the propeller photoetch parts and add some resin pieces on the front counterweights for more detail.
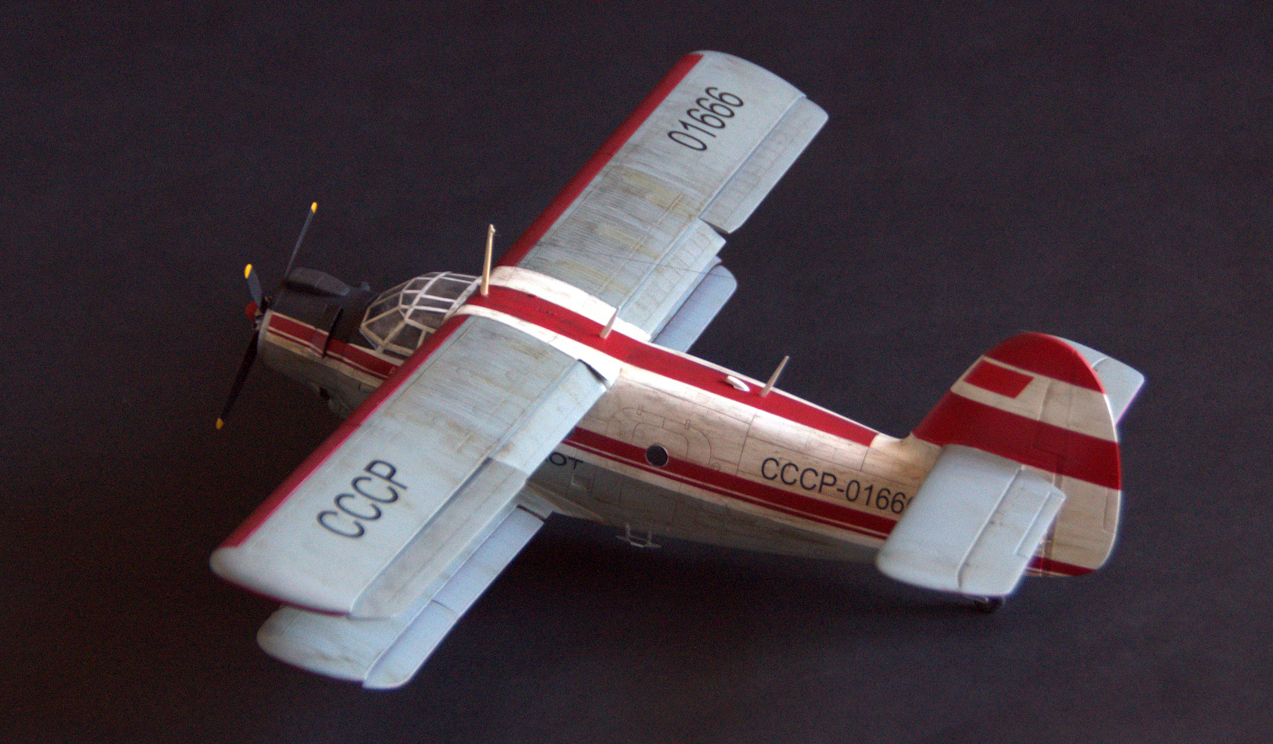
It was finally time to start the painting process. I chose to mix fifty-fifty Insignia White with RLM off-white and mix two grays to get something close to the Aeroflot gray. Paints went down OK and when all was dry I sprayed a coat of Future to get the model ready for decals later.
I was ready to paint the black anti-glare but because the red decal stripe meets the black at an angle I chose to cut out the decal stripe and see how I was going to do the masking. Surprise surprise! The decal window cutouts did not match the window placement! There we go again. I was convinced that this model hates me....
If I knew earlier, I would have done the painting differently. It was a royal pain to mask the red stripe, especially since this is a biplane. In any case after two days the stripes is down. Now I must paint the anti-glare and then do the decals.
The Print Scale decals went down OK over the Futured surfaces. They are very thin and need attention. I applied weathering, maybe too liberally, but sometimes these planes were beaten up badly.
The most difficult thing was applying the rigging. I have never done a biplane before and thiswas my first attempt.
The An-2 is finished!


