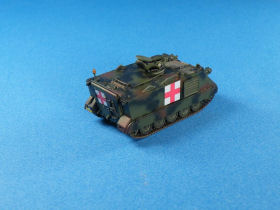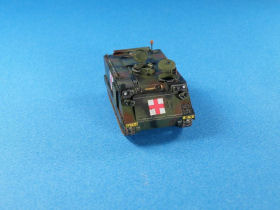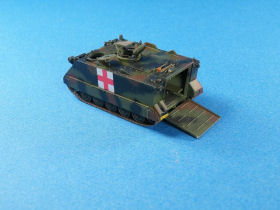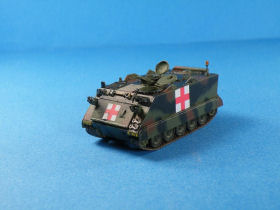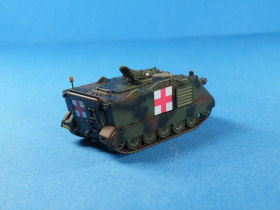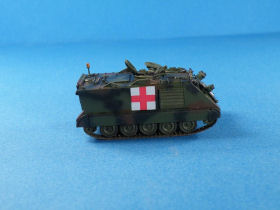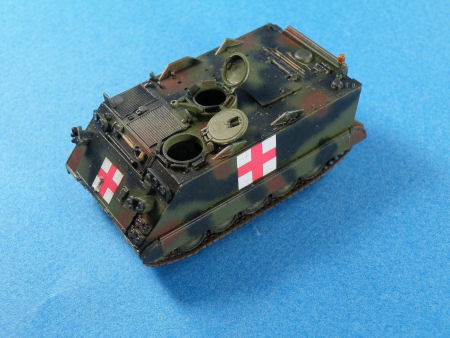
Trumpeter 1/72 M113A2 Ambulance
By John Kelly
| Date of Review | December 2010 | Manufacturer | Trumpeter |
|---|---|---|---|
| Subject | M113A2 Ambulance | Scale | 1/72 |
| Kit Number | 7239 | Primary Media | Styrene and Vinyl |
| Pros | Good detail; good fit; easy build | Cons | Antennae guards are over simplified; partial interior only |
| Skill Level | Basic | MSRP (USD) | $14.95 |
Introduction
The M113 was first developed by FMC in 1965 for the Army's request for an armored personnel carrier. Since that time, the M113 has served the U.S. Army in Vietnam and in Iraq. It has also served in a number armies around the world and it has even out lasted the M48 and M60 series of tanks it was designed to support. The M113 has gone through a number of upgrades culminating in the M113A3. Even as late as 2010 it is still in front line service. A testament to its design and versatility.
The Kit
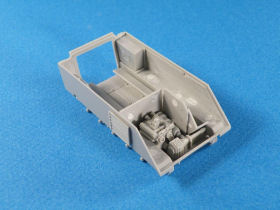
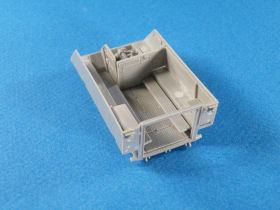
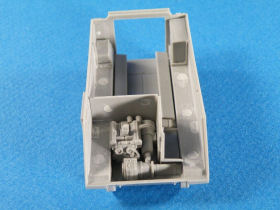
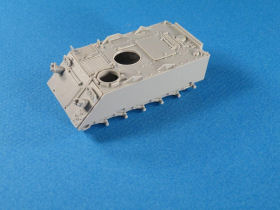
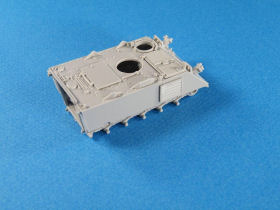
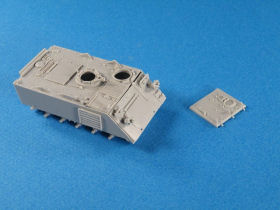
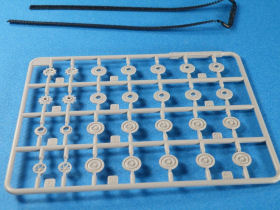
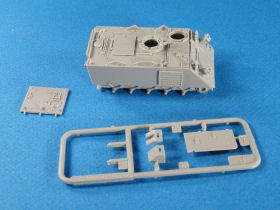
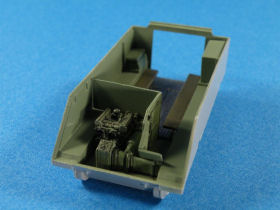
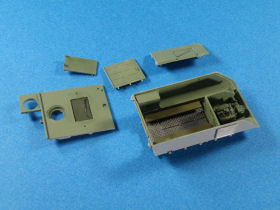
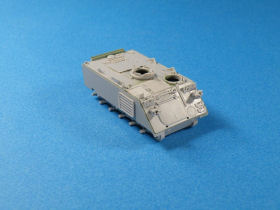
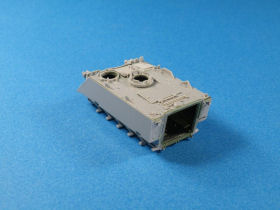
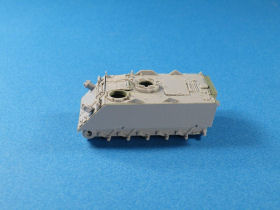
Trumpeters release of the M113A2 in 1/72nd scale is finely molded in light gray plastic. The kit contains a partial troop and engine compartment. The molding is quite good and the details on the kit are well done. One of the high points of this kit is that the road wheels are two pieces instead of one, as in the old Esci kit. The kit contains parts for the M113A1 and A2 as well as external parts for the A3 version. Since the engine and troop compartment are closer to the M113A1 and A2, we will be reviewing this as the A2 version. To make the A3 requires not only the extra kit parts, but spall liners for the troop compartment and a new transmission as well. A review of the kit can be found here.
Construction
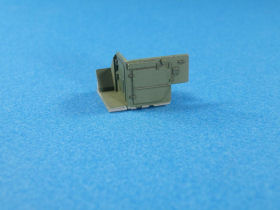
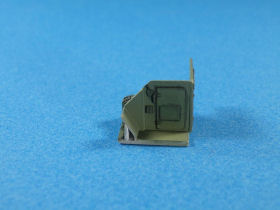
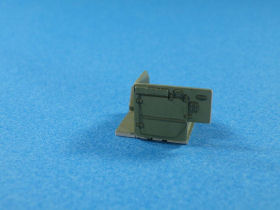
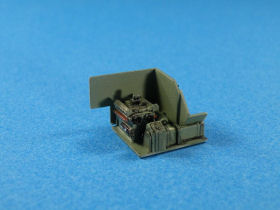
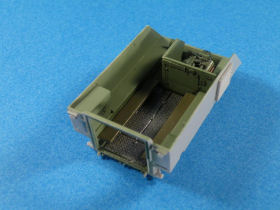
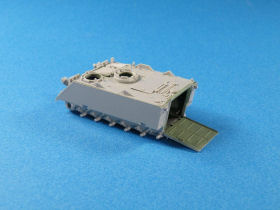
I deviated from the instructions and started building the interior first. There were numerous ejector pin marks throughout the inside of the kit which needed to be filled and sanded. The side skirts use two large locator tabs that fit into slots in the hull side. They are not visible under the fuel cell or the storage box but are towards the front of the hull. I removed the two front tabs and glued them in the front slots and filled them as well.
After sanding the pin marks and finishing the interior build I painted the insides including the engine compartment Tamiya XF-71 Cockpit Green. This is a close match to the Seafoam Green that was applied to the real vehicle. Looking back I should have lightened it about 20% for scale effect.
The tread plate in the troop compartment is left in its natural steel color so I painted it Model Master Silver and gave it a black wash and dry brushed it with silver. I picked out the engine details with Tamiya Red Brown for the exhaust and the carburetor and fan belts were painted flat black.
The seat tops were painted Tamiya Olive Drab. Finally, all the details in the engine compartment and troop compartment were given a black wash and dry brushed with the green. I then began assembling the running gear. These went together with no trouble although I did remove most of the teeth from the drive sprocket so that the track would fit better.
When I went to assemble the tracks, I found that the vinyl material did not stick together with regular Super Glue. Instead, I used Loctite Plastics Bonding System to assemble the tracks. This is a two part system which has a primer that you apply to both surfaces and the Super Glue which you apply to one surface only. It worked very well and held the tracks together without any problem. But be careful as you can easily glue your fingers to the track. I know because I did!
After building the running gear and tracks, I began the final assembly of the kit. This is where research plays a big role in building a model. The first thing I do when I review a kit is to research it to make sure that I am building it as accurately as possible. While the manufacturers go to a great deal of trouble to produce accurate models, sometimes subtle differences in various makes go unnoticed. In this case, the M113A2 is shown on the box art and the instructions with external fuel tanks as well as a glacis mounted box in U.S. Army markings. But the U.S. Army did not use the external fuel tank on the M113A2 except on the M901 FIST-V and the M1069 120mm Mortar Carrier. They are used are the M113A2 in military service outside of the U.S. So what this means is in Step 7, do not add Parts C4 and C5 if you are building a U.S. version. Simply use Parts F2 and F3 as a replacement. These are the old style rear track guards. You will also use Part F1, the flat trim vane, as called out in the instructions.
There is one hole in the rear hull on each side of the rear troop hatch that you will have to fill since we are not using the external fuel tanks. To be truly accurate, a fuel can should be added to each side of the troop compartment rear hatch Part B12. If you add the fuel can you can skip filling this hole as it will be covered. I next completed Steps 8 and 9, but on Step 10 I put Part B15, a shovel, on the glacis instead of Part C2, the smoke grenade ammo box. I chose to make the ambulance version, so the M2HB Part B2 is not installed, however the machine gun is well done but it lacks the hand grips on the back of it.
My research showed it is against the Geneva Convention for the 12.7mm Machine Gun to the installed on a medic track. Crew personal weapons are allowed for self defense, but no M2. I went ahead and added Part C3, the flashing light, since I wanted mine as a vehicle being used on the maneuvers and not combat. Besides, it adds some color. I also added Part B30, which is the panel to distinguish friend from foe.
Painting
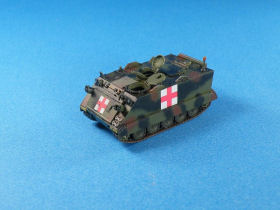
I chose the NATO Camouflage scheme and used Tamiya paints throughout, except where noted. The base color was NATO Green XF-67 with 20% Deck Tan XF-55 added to lighten the base color. I then used my Paasche H single action airbrush and sprayed NATO Brown XF-68 and NATO Black XF-69. I thinned the paints approximately 50% with Tamiya thinner.
The road wheels and periscopes were painted Model Master 4767 Aircraft Interior Black. I coated the periscopes after drying with X-27 Clear Red to give it the look of laser protected armor glass.
At this point, I gave the model a coat of Future Floor Wax and added the decals. This was the only area I encountered any problems with. The bumper codes did not stick without adding a coat of Future and then applying the decal while the wax was still wet. The adhesive on the back was not strong enough to hold the decal in place. In fact, I lost the right bumper code simply by touching the decal and it fell off, never to be seen again. I do question the bumper codes as the right code for the vehicle says "No. 10". The "No." should have a letter so that the platoon is listed, such as D-10 or B-10.
I am planning on building this kit again and when I do, I will use different bumper codes. The ambulance markings were a little tricky to get over the raised detail. On the rear hatch, I used Microset and Microsol. The decal then snuggled down on the details. Rather than cut-up the marking to get it under the tow rope, I put it at the top of the door. These markings can be found in various positions on the front and back.
For the trim vane red cross, I cut two slits in the decal where I was going to place it so it would fit over a box on the trim vane. After using the setting solutions, I then touched up the area with XF-3 White. With the markings added I then used a pin wash on the details of black oil paint and turpenoid. After this was dried, I dry brushed the model, very lightly, with Deck Tan. I then sprayed a flat coat using TS-80 Flat Clear and I then began painting the details.
The wooden handles on the tools were painted Model Master 4673 Wood and the metal parts of the tools were painted Model Master 4681 Gun Metal. The head lights and the flashing light were painted Model Master 4678 Silver. After this had dried, I gave the flashing light a coat of X-26 Clear Orange. All the lights were then given a coat of Future to make them look like glass.
Conclusions
The kit was easily put together and the fit was excellent. However, there are some areas that were simplified and need to be attended to by the modeler. The antennae guards were solid plastic and should be replaced with strip styrene. The exhaust guard on Part C7 is a simple square, and it should be a u-shaped bracket over an exhaust pipe.
While a partial interior is included, the kit is missing the track commanders/squad leaders seats, driver seat, instrument panel and, in the case of the A1 and A2 version, the steering laterals. The engine compartment is also missing the air cleaner and the radiator intake fan. In spite of this, Trumpeter gives you a good start and these items are easily made using strip styrene and rod.
The kit is a good basis for super detailing and all the details that have been molded in, except for what has been mentioned, and are well done. I enjoyed build this kit and when it is all done it looks good. I plan on buying one and building an O.I.F. M113A3 medic track. I would highly recommend this kit to any modern armor fan.


