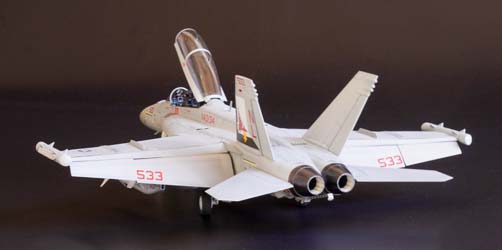
Meng 1/48 EA-18G Growler Build Review
By Fotios Rouch
| Date of Review | November 2022 | Manufacturer | Meng |
|---|---|---|---|
| Subject | EA-18G Growler | Scale | 1/48 |
| Kit Number | LS014 | Primary Media | Styrene |
| Pros | Interesting subject | Cons | See text |
| Skill Level | Experienced | MSRP (USD) | $88.95 |
Build Review
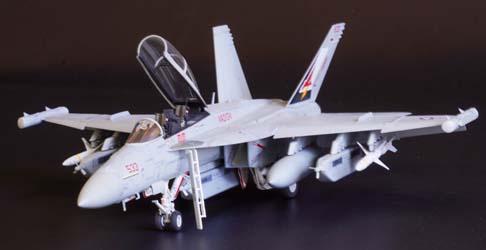
As a break from limited run kits, I decided to do something different. Something well designed and modern. So, I chose the Meng Growler as my next build. I have had the Furball Aero-Design Growler Anthology decals (designed for the Hasegawa Growler) because they include the VAQ-134 Garudas subject from Whidbey Island where my son served.
The kit looks great inside the box with a plethora of sprues and parts and all the possible ordinance and gear for a busy look.
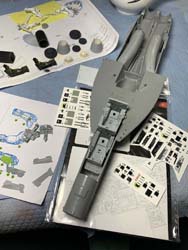
As per usual all the parts were washed and degreased and airdried. I started work on the subassemblies such as the nicely detailed landing gear and bays and of course the cockpit.
For a change I decided to follow the latest fad of using 3D decals for the instrumentation and other cockpit details. I was not disappointed. The Kelix decals looked great and much better than what can be achieved with a paintbrush. All the parts fit well for the cockpit and the end result is satisfactory.
I then moved to the exhausts. I bought the Eduard set because I did not like the soft detail of the plastic parts. The Eduard parts are 3D printed. They offer great detail for afterburner portion and very nice detail for the inside surfaces of the exhaust cans and especially the outer lip of the cans. Unfortunately, 3D printed surfaces are inherently not smooth, a byproduct of the creation process. After spraying them with metallic paint it was obvious that I could not live with the surface as such. And here is the next problem. Polishing the exhaust surfaces even with fine polishing pads took off the ridges for the most part but also the detail of the petal separations. The 3D material is just too soft. And its grain does not polish well. I might have to go back to the kit exhausts and use the Eduard innards only.
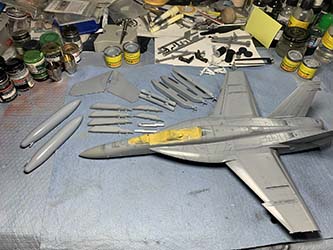
I also completed all the ECM gear and weapons which look very good and now I am ready to go to the main assembly for fuselage and wings. Fit is overall pretty good with the only area that required special attention being the fuselage area under and in front of the cockpit. Certain joint lines need to be smoothed out and disappear and a little scribing is necessary too. Nothing too bad and all went okay.
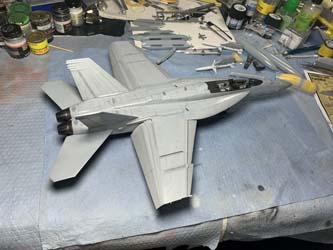
After the model was cleaned with alcohol wipes it was time for airbrushing. I used again Xtracolor paints for their gloss smooth finish and played with the color tones a bit and some panel pre-shading.
Next, I will reduce the visibility of the pre-shading and finish painting the radome, etc. I have noticed that the plastic surface is not glass smooth and maybe a bit pebbly and it shows under the gloss paints. Maybe you want to polish yours before painting.
The Meng kit gave me very problems and went together very well.
It is recommended to all the modelers that want this unique version of the Super Hornet.


