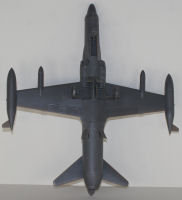
Kitty Hawk Models 1/48 F-94C Starfire Quick Build Review
By Michael Benolkin
| Date of Review | November 2012 | Manufacturer | Kitty Hawk Models |
|---|---|---|---|
| Subject | F-94C Starfire | Scale | 1/48 |
| Kit Number | 80101 | Primary Media | Styrene, Photo-Etch |
| Pros | Nice looking model | Cons | Minor fit challenges |
| Skill Level | Experienced | MSRP (USD) | $45.95 |
Background
For a brief discussion of this subject and a look at this kit out of the box, look here.
The Build
Note: You can click on any of these images below to see a larger image.
After I ran the in-box review of this kit and subsequently in-box reviewed
and quick-built their F-35B kit, I received a few questions about the F-94C and decided to circle around and give this kit a quick-build as well. As always, our quick-builds are straight out of the box, usually without any photo-etch and assembly is performed with liquid cement and no cyano or fillers are used. The kit is bare plastic so you can see how well the model goes together for yourself. I did this one in a bit of a hurry so please forgive the generous application of liquid cement.
Construction started (of course) in the cockpit. The ejection seats were first and they went together very nicely.
Next was the cockpit tub. Here's the first silly bit of design work in the kit. First of all, the underside of the cockpit floor is nice a flawless. That's because the ejector pin marks are on the side that is seen inside the cockpit. Next, the ejection seats have three locating pins under them to help position them on the cockpit floor. Guess what Kitty Hawk didn't mold into the floor? It wasn't rocket surgery to position the seats so I removed the pins after getting the other parts in place.
There are a number of very delicate parts that are provided in this kit but they're attached to the sprue tree with heavy stubs that destroy the part when trying to remove the part from the tree.
The tailpipe is nicely done though you'll note those four mounting lugs carefully molded into the sides of the pipe? They're not used to mount the pipe in the tail section nor can they be seen after the model is assembled, so why are they there?
The tailpipe and cockpit tub go into the fuselage halves. You can see here that there are no problems here - nice fit all around. The cockpit will really look great with some paint and the photo-etched panels that are included in the kit.
There were no further issues until we mounted the wings to the fuselage. The starboard wing root has a gap that will need some sprue filler to close. The port wing root will only need some minor filler.
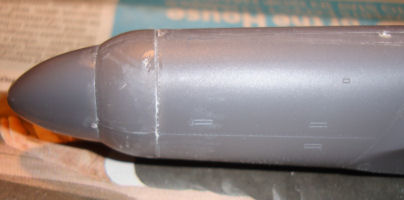
Another of the other minor annoyances in the kit is the nose. The radome mounts to the nose rocket door fairing and there is a part that inserts inside the fairing representing the rockets stored inside. Since there is no provision to position the rocket doors open, why is that third piece even there. Whatever the case, the three-piece assembly does not properly fit on the front of the fuselage. You can see that the port side is almost right, but there is a gap needing filler on the starboard side. Even with filler, a session with a sanding stick will be required to blend the fairing into the fuselage as that doesn't happen on its own.
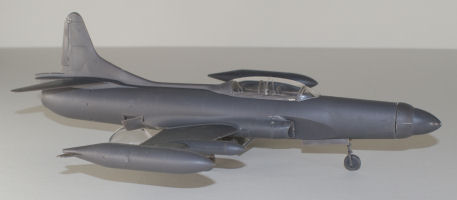
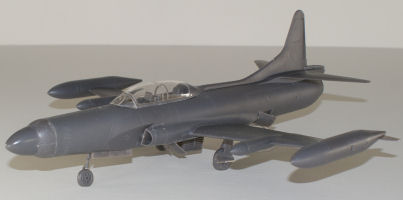
The rest of the model goes together without any issues. There is a slight step in the canopy at the canopy bow that is higher than the windscreen. It is minor and will only be noticeable should you pose your canopy closed like I did.
Conclusions
Like the F-35C, this kit is a diamond in the rough. There is lots of great engineering and some unfortunate blunders all mixed together. If you start this project thinking that this will be a Tamiyagawa type kit, you won't enjoy this kit. If you treat this as the limited run (and very first kit released by Kitty Hawk) that it is, then you will have some fun with this project. You will need modeling skills and you'll need to sand, blend, fill, and prime this model before applying the bare metal finish.
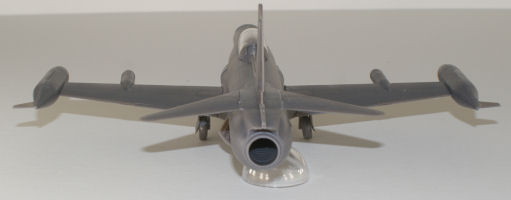
You'll note the clear dome under the tail - I didn't use the ballast provided in the kit and sure enough, the model is a tail-sitter. The instructions don't mention the ballast, but you'll want to cyano the ballast into the radome.
Recommended for experienced modelers.
My sincere thanks to Kitty Hawk Models for this review sample!


