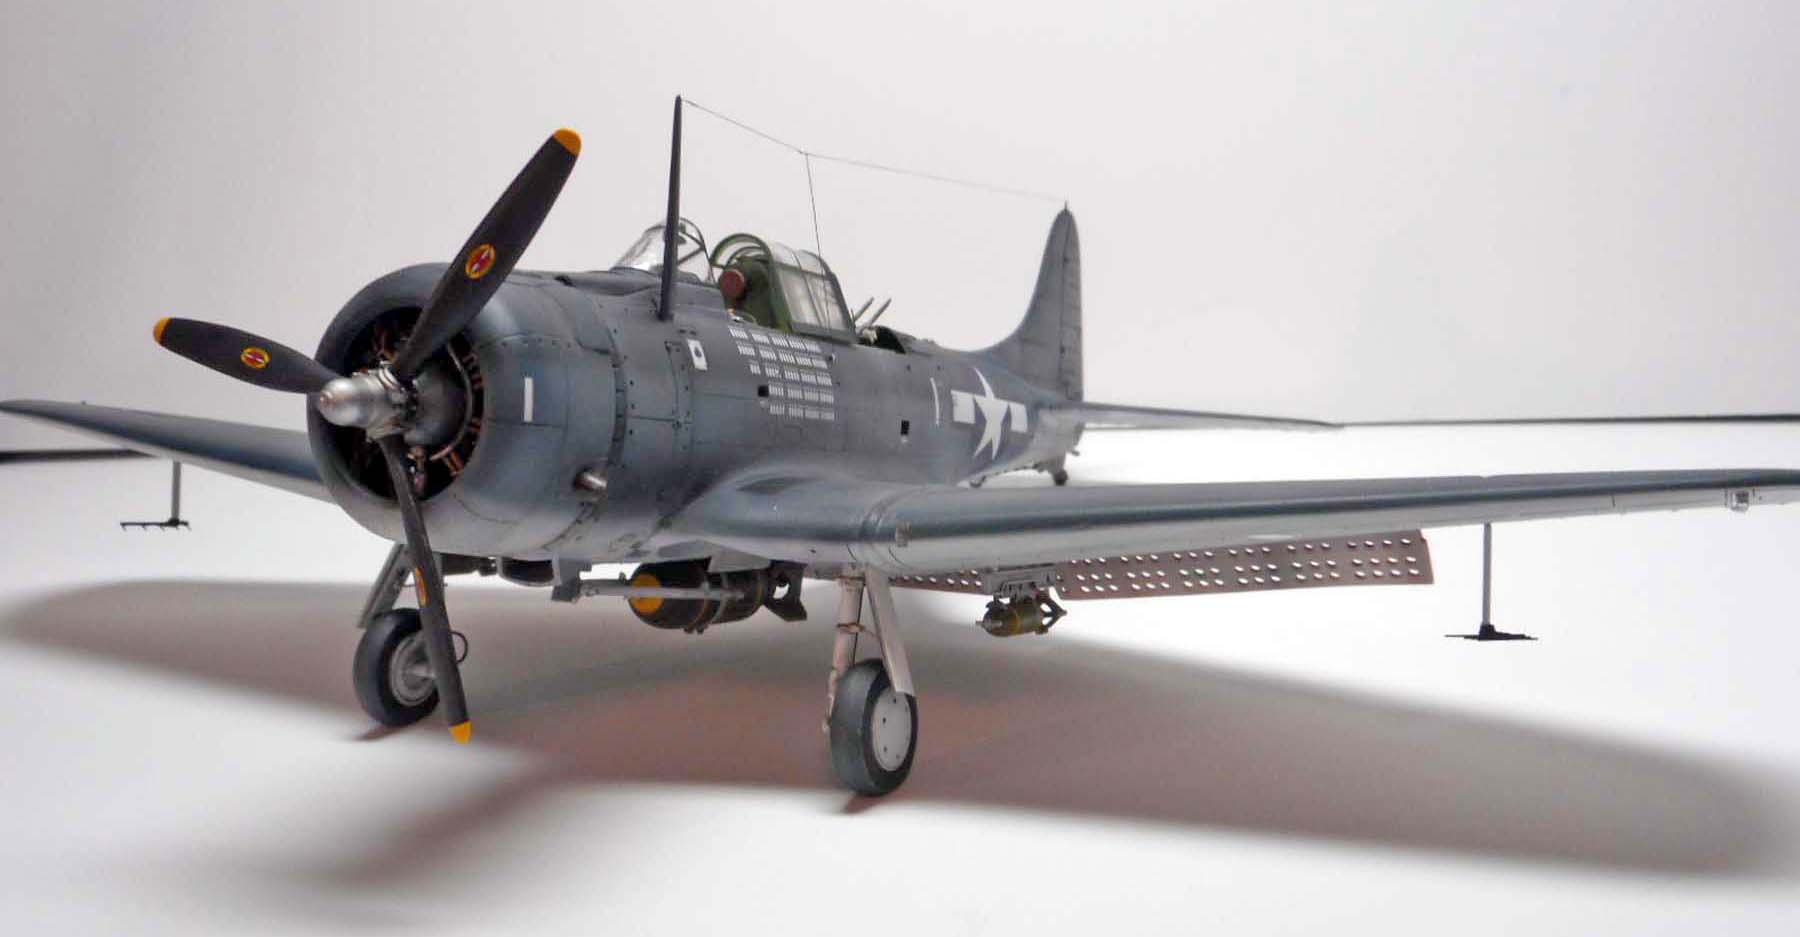
Italeri 1/48 SBD-5 Dauntless Kit Build Review
By Larry Horyna
| Date of Review | November 2020 | Manufacturer | Italeri |
|---|---|---|---|
| Subject | SBD-5 Dauntless | Scale | 1/48 |
| Kit Number | 2673 | Primary Media | Styrene |
| Pros | Nicest SBD kit in 1/48 scale | Cons | See text |
| Skill Level | Experienced | MSRP (USD) | $39.95 |
Build Review
For a brief history of this subject and a look at this kit out of the box, look here.
The venerable Douglas SBD Dauntless served as the backbone of American Naval dive bombing for the first half of the Pacific War. In 1997 Accurate miniatures produced the -5 variant in 1/48. The kit has held up well, with some stout competition from Hasegawa. This particular boxing is the latest one by Italeri.
The kit does show some signs of age, being over 20 years old and with a new company. There was a bit more flash than I would normally expect and fit was a little off in few places. The directions are copied from the original Accurate Miniatures ones which I never was very impressed with. They are quite vague in places! You definitely need good reference to double check the placement of some small items.
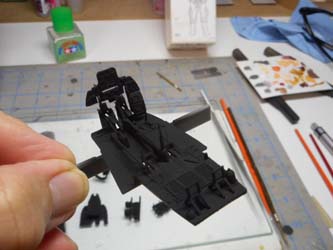
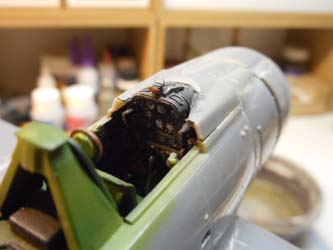
The cockpit utilizes a clear instrument panel with decals give the impression of clear lenses over the dials. Again, I have never been a big fan of this gimmick but the end result is okay. I did not care for the decal seatbelts and the gun sight didn't look right to me so I added PE belts and a scratch-built gun sight (most Dauntless versions did not have shoulder straps for the pilot until sometime into -5 production so I added them). The interior was primered in flat black and then painted interior green to give some shadow and depth. Fuselage fit was good with no issues getting the interior in.
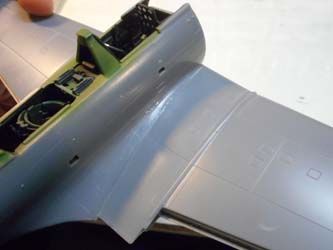
I ran into some wicked fit issues with the wings to the fuselage. I ended up with some big gaps under the fuselage and trailing edge to the wing root did not align well. The leading edge lined up perfectly but that left the trailing edge short. I think this is a issue from the age the mold, not anything in initial design. I have read reviews of the Accurate Miniatures kit that did not have this issue. I filled the gaps with CA and shimmed the trailing edge of the wing to match the wing root fillet.
The engine is probably the best detail in the kit though. For 1/48, the detail is fantastic, including a wiring harness. The cowling fit fine with no issues. Underside detail is amazing on this kit. The area for the main bomb is quite complex and here the kit really shines.
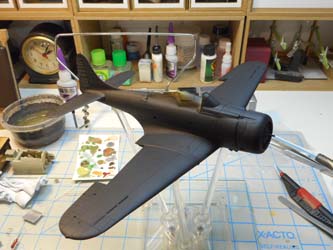
I thought I would have a little fun with the paint on this model and try a few techniques that I either have not done or only done once before. I "black based" the model, which simply means I painted the whole thing with Vallejo black surface primer. For the undersides, I did a marble coat, then slowly built up the color with thin coats. I really like the result. I did the same with the intermediate blue on the fuselage sides but not the upper surfaces because the dark sea blue would not really show the effect well. Instead, on the dark blue I used salt weathering to break up the color and show general wear to the paint. I try to keep these effects fairly subtle. I want to see them, but so much that they look overdone.
After painting the dark blue, I wet the surface of the model, sprinkle table salt around panel lines and areas I want to show wear. Then I sprayed a very thin mixture of a slightly lighter blue over the entire upper surface. Once dry, I wiped the salt away with a damp cloth. The initial look was a little starker than I wanted to I went back and lightly sprayed a thin version of the base blue to "blend" the effect a little better. Again, I was very happy with the result.
I used Eduard canopy masks for the canopy and clear coated the model with Future before using the kit supplied decals. They worked fine with a few coats of Micro-Sol. The model was then given a few washes with corresponding MIG enamel washes for pacific theater aircraft. The landing gear were a little fidgety to install but once dry they are plenty stout. The dive brakes fit well, the actuator rods are little thick, but for an out of the box feature they look pretty nice. I elected to leave the upper dive break closed and just lower the flaps.
Canopy fit pretty good. It's a pretty ambitious piece of engineering to cast the rear canopy sections to fit in an open configuration. The front canopy did not sit down perfectly in the open position, but is acceptable. The bombs were good except of the fuse vanes, which are horribly thick. I used some spare PE parts for those. The Yagi radar is also quite thick and looked much better scratch-built from brass wire.
All in all, this was a pretty fun build, especially given the kit's age. From what I have read, the overall dimensions are quite good and the kit has always gotten high marks for shape and accuracy. My only suggestion would be to try and get your hands on an earlier Accurate Miniatures boxing if you can.


