Fujimi 1/72 F-4D Phantom II Kit Build Review
By Richard "RJ" Tucker
| Date of Review | July 2018 | Manufacturer | Fujimi |
|---|---|---|---|
| Subject | F-4D Phantom II | Scale | 1/72 |
| Kit Number | 26103 | Primary Media | Styrene |
| Pros | Accurate shape; wing & centerline weapons pylons included | Cons | Sparse cockpit; requires filler |
| Skill Level | Experienced | MSRP (USD) | OOP |
Build Review
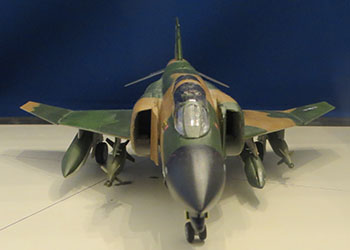
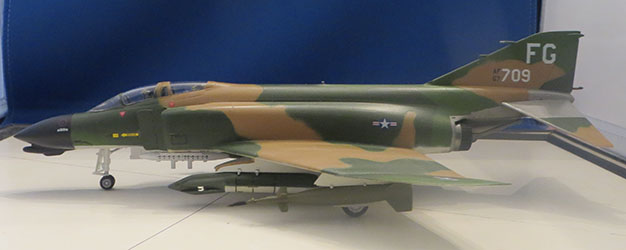
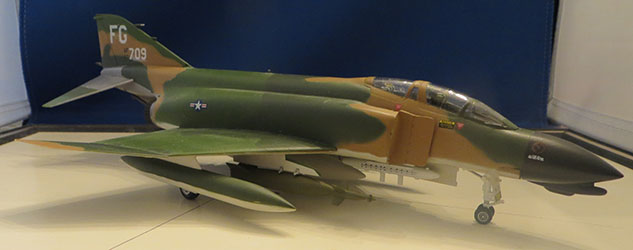
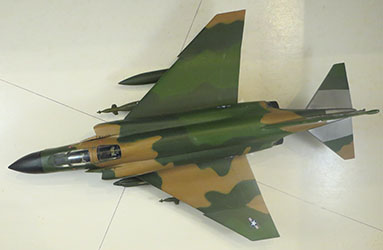
This model depicts the F-4D Phantom II, number 69-7709 of the 8th Tactical Fighter Wing stationed at Ubon Royal Thai AFB supporting the "Operation Linebacker" in May 1972. This aircraft led the first successful laser guided Bomb attack of the Linebacker campaign.
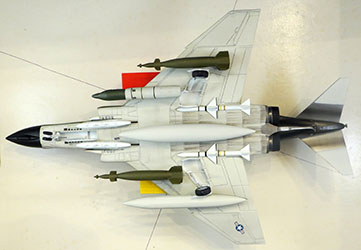
The kit is the Fujimi F-4D with the laser guided bombs, AN/ALQ-87 ECM pods and Pave Knife laser designator from the Hasegawa Weapons kits, and the decals came from Wolfpak decal sheet 72-015. The kit was painted with Testors Model-Master enamels and weather with chalk pastels.
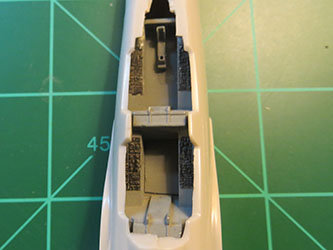
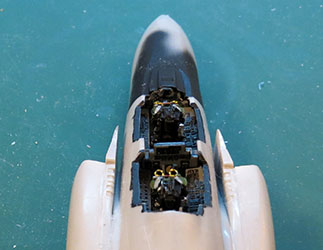
Construction is pretty conventional, so I'll just cover some of the unique aspects of the kit. The knock against the Fujimi Phantoms is the cockpit is pretty basic. When Fujimi released their British Phantoms, they updated the cockpit making it a gem. IMO, it's just behind the Monogram Phantoms in detail; inexplicably, Fujimi didn't update the US versions with the better cockpit. So, I made a resin copy of the cockpit from the Fujimi F-4K kit.
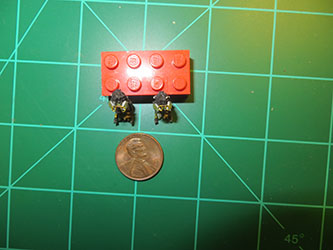
The ejection seats are Verlinden F-4 seats. They're a little undersized, but so are the kit seats, so they fit in the cockpit. The face curtain handles are painted wire.
I cut the inaccurate combing off the fuselage just ahead of the pilot and added a better rendition from the extra parts in a Hasegawa kit. The aft canopy will cover the gaps behind the WSO.
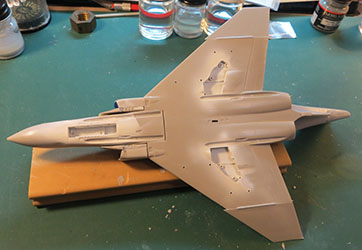
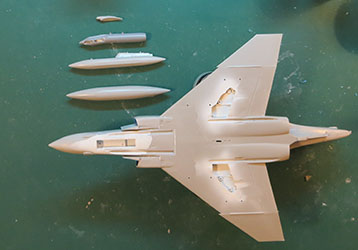
Fujimi was the first model company (as far as I know) to use modular molds. The parts common to all versions are the same in every kit, and separate trees contain parts for the various versions. Many times, however, the various moldings don't quite line up. As you can see below, some pretty bad gaps around the bottom the fuselage where the intakes, center fuselage & wings come together. That gap behind the missile wells is common to every Fujimi Phantom I've ever built.
I placed styrene strips in the gaps & sand them smooth.
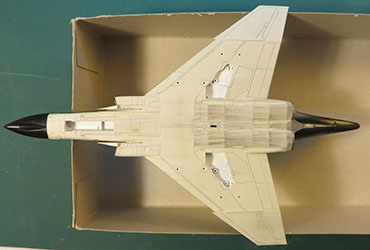
Construction and painting was pretty straight forward from here. A single color bottom is pretty ho-hum. So, I drew in the panel lines with a drafting pencil holding a "F" lead which is a medium hardness. A little contrast goes a long way.
The Fujimi kit still holds up well. It's not as complex as the Hasegawa kit, sports engraved panel lines unlike the Monogram rendition, and produces a convincing replica even without the cockpit improvements.


