CollectAire 1/48 B-66/RB-66 Destroyer Build Review
By Fotios Rouch
| Date of Review | March 2024 | Manufacturer | CollectAire |
|---|---|---|---|
| Subject | Douglas B-66/RB-66 Destroyer | Scale | 1/48 |
| Kit Number | 4874 | Primary Media | Resin, White Metal, Vacuform |
| Pros | Nicest B-66 in 1/48 scale (only B-66 in 1/48 scale) | Cons | |
| Skill Level | Expert | MSRP (USD) | Out of Production |
Build Review
This long out of production model has been reviewed here. I don't think it will ever be done in plastic but so I thought about the Skywarrior as badly as it was done anyway.
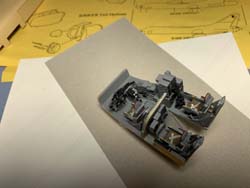
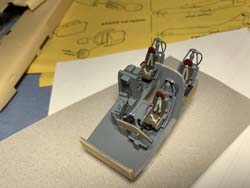
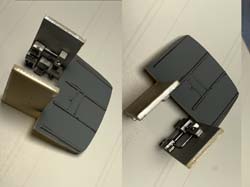
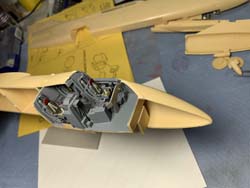
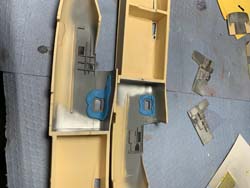
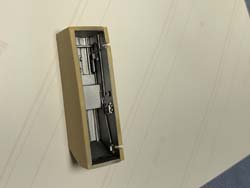
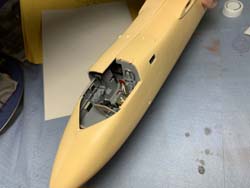
As usual with all resin kits work starts with cleaning all the parts with warm water, 409 cleaner and a toothbrush. Obviously the model parts will be handled heavily and more cleaning is always needed before painting. Work started with cockpit. It is reasonably detailed and has enough detail that will never be seen again inside the fuselage and under the canopy. The model provides an open access boarding door and ladder and a detailed cavity that leads up to the cockpit. Sadly, that will become mostly invisible as well. Test fitting all the cockpit parts inside the fuselage looks promising with no interference.
One job that needs to be done before inserting the cockpit is to create the side cockpit windows for the crew. The kit provides clear vacformed pieces but it is always easier to use clear resin and get perfect fit that is easy to mask.
The front landing gear well is also well detailed and was painted aluminum and was washed with a black acrylic wash.
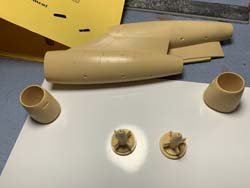
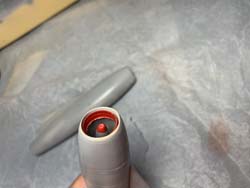
The engine pods are well detailed and fit well. I have been trying to figure out a good way to mask the intake lip. The inside of the intake is painted aluminum but the camouflage is sprayed for a few inches inside the intake.
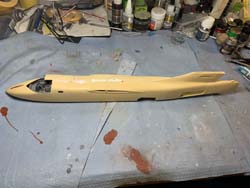
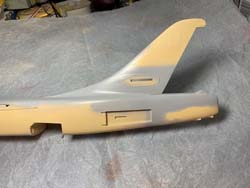
Test fitting the fuselage with the cockpit interior inside showed no major problems or at least no new fit issues. Sadly, on my example the fuselage halves had a bit of variation and even though I tried to align them better with alignment tabs, I still had to use some putty. The rear ECM empennage went on with no issues. The top part of the tail is cast as solid resin and in my case, I had to use styrene spacers to open up the fuselage tail opening so it would align to the top tail butt joint.
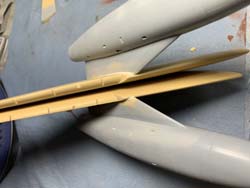
The nacelle pylons left a bit of gap at the wing joint and I decided to adapt them to the wings prior to trying to get the wings onto the fuselage so I could have more flexibility of movement for puttying and sanding.
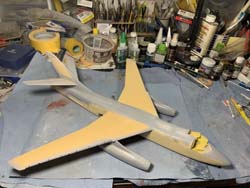
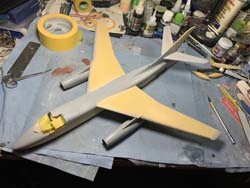
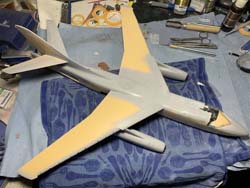
Test fitting the wings on the fuselage showed minor gaps but more importantly showed a minor variation between the wing root on the fuselage and the wing itself. This was weird because in the pictures Dimitri sent me of his master the fit was perfect. In this case, some sanding was required which erased some of the panel lines.
After I was satisfied with the wing to fuselage joints, I primed and rescribed the lost panel lines. I then took a pencil and ran it freehand over the panel lines to see if I missed anything.
The biggest hurdle with this model will be the clear vacuformed canopy. I already ruined the first one because I followed the panel lines so now I am taking it slow and adjusting my cuts a bit at a time.


