Bandai 1/12 K-2S0 Build Review
By Michael Benolkin
| Date of Review | November 2021 | Manufacturer | Bandai |
|---|---|---|---|
| Subject | K-2S0 | Scale | 1/12 |
| Kit Number | 209433 | Primary Media | Styrene |
| Pros | Snap-together construction, pre-finished, fast build | Cons | See text |
| Skill Level | Intermediate | MSRP (USD) | Out of Production |
Build Review
As many of you Star Wars fans know, there have been three trilogy movies released in the Star Wars universe, the first two directed by George Lucas, the third trilogy under Disney's watch. In addition, there have been a few other movies produced in the Star Wars universe, and one of my favorites is 'Rogue One' which ends right before the start of the first trilogy (Episode IV), though it was flimed many years after Episode IV. In Rogue One, we see new robots, spacecraft, and additional 'flavors' of Storm Troopers, but one standout was a captured and reprogrammed droid identified as K-2S0 (and voiced by actor Alan Tudyk). I still watch that movie periodically as it is still a fun addition to the Star Wars franchise.
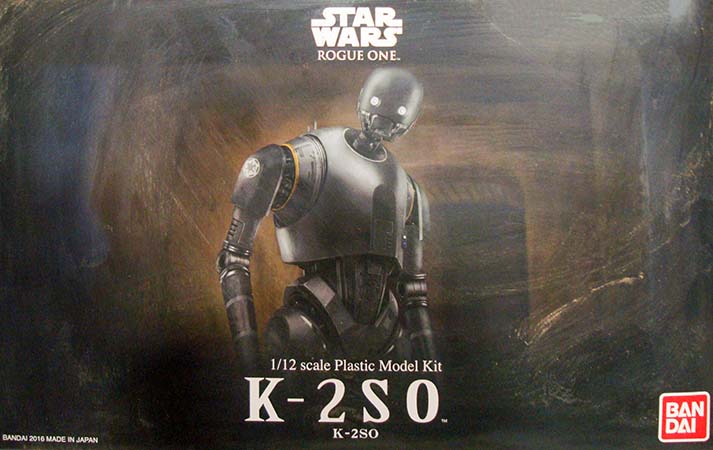
And as many of you Star Wars modelers know, Bandai produces a wide variety of Star Wars characters in 1/12 scale, most of them can be simply snapped together without paint with good results. I picked up the K-2S0 kit about five years ago (along with other figures out of the Star Wars series) but I've never build any of the kits out of the series - until now. After a few setbacks with other projects, I decided I needed a fun break and pulled K-2S0 off the shelf. The kit consists of two parts trees plus one tree for the optional stand and one set of six nylon ball joints. The instructions are among the best illustrated in the industry and there are huge part numbers molded on each part tree making the quest for parts easy. That said, there are more parts in this kit than I imagined as they don't skimp on details.
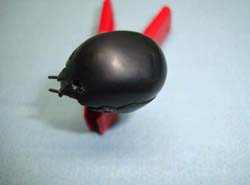
As I started the build process, I told myself that I was going to follow the instructions and I was going to simply snap the kit together to make this a quick project. As I started step one - the head - I did follow the instructions and got the head assembly together easily, but there was a mold line running across the top of the head. My inner AMS decided to change the rules and use minimal glue where needed and we're going to use the clear canopy moldline treatment to buff out any imperfections and have this model ready for paint. Once the head was ready, I wet-sanded the head with ever finer grits, then went to the buffing pads down to 12000 grit. The results were as expected, so I put drops of masking fluid into each eye and set the head asiide.
The upper torso went together the same way, though I used liquid cement on the seams of the front/rear shell halves while leaving everything inside without glue. I again sanded and buffed the seams, careful not to erase those seams that would be visible on the full-scale droid. I did leave off the small antenna on its back until later.
The lower torso have went together as smoothly and the process of gluing and sanding/buffing was repeated here as well.
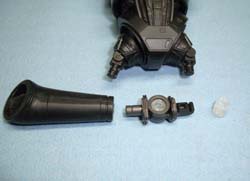
So next come the droids limbs and these too consist of many pieces. I assembled, glued, and buffed out the upper right leg, then took a look and the knee joints. In the movie, the knee joints were hollow and one person had suggested to simply glue the knee joints together to make that joint hollow as well. The kit provides two clear pins, one for each knee, to provide the illusion of being hollow while allowing the assembled leg to articulate. The tree stubs attached to the visible ends of those clear pins, so I carefully useed the same sanding/buffing process to make the pins as clear as possible.
Not shown in these images are the test-fittings of each subassembly and it is easy to assemble and disassemble the droid. Also not shown are the shoulders which are molded in silver-gray and those fit snugly after clean-up, but like the other subassemblies, they are going to be painted separately as well as receive the decals that provide additional details for the droid. In the next installment, assembly should be complete and (hopefully) hopefully painting before I get to try out something I haven't done before. Stay tuned!


