


Airfix 1/72 Hawk T.Mk.1A Build Review
By Michael Gething
| Date of Review | February 2024 | Manufacturer | Airfix |
|---|---|---|---|
| Subject | Hawk T.Mk.1A | Scale | 1/72 |
| Kit Number | 3085 | Primary Media | Styrene |
| Pros | Excellent detail | Cons | Some delicate parts |
| Skill Level | Experienced | MSRP (USD) | $19.99 |
Buld Review
The BAE Systems Hawk jet trainer began life as the Hawker Siddeley Aviation HS.1182, conceived as a replacement for the Royal Air Force (RAF) Gnat T.1 advanced trainer. The RAF ordered 175 Hawks in March 1972, with the prototype (XX154) making its maiden flight on 21 August 1974, with the first aircraft entering service in November 1976. It proved to be an immediate success and in 1979, became the new mount of the RAF’s Red Arrows aerobatic team. Export success has seen the Hawk in production ever since and over 1,000 have been built. Like many long-running production aircraft, the Hawk has evolved over the years, adding light attack capabilities to its trainer role; a single-seat radar-equipped model (Hawk 200) selling to Oman, Malaysia and Saudi Arabia, and a carrier-capable variant (T-45 Goshawk) developed for the US Navy with McDonnell Douglas.
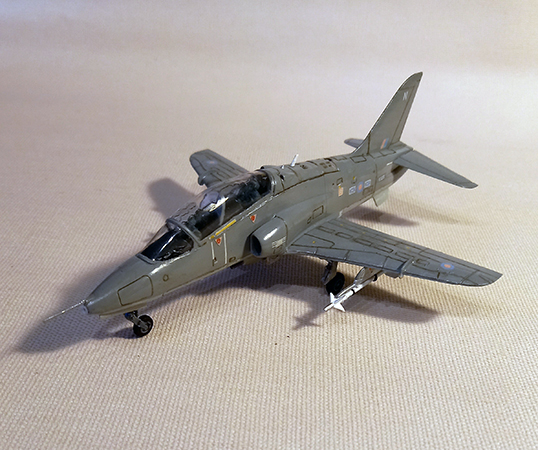
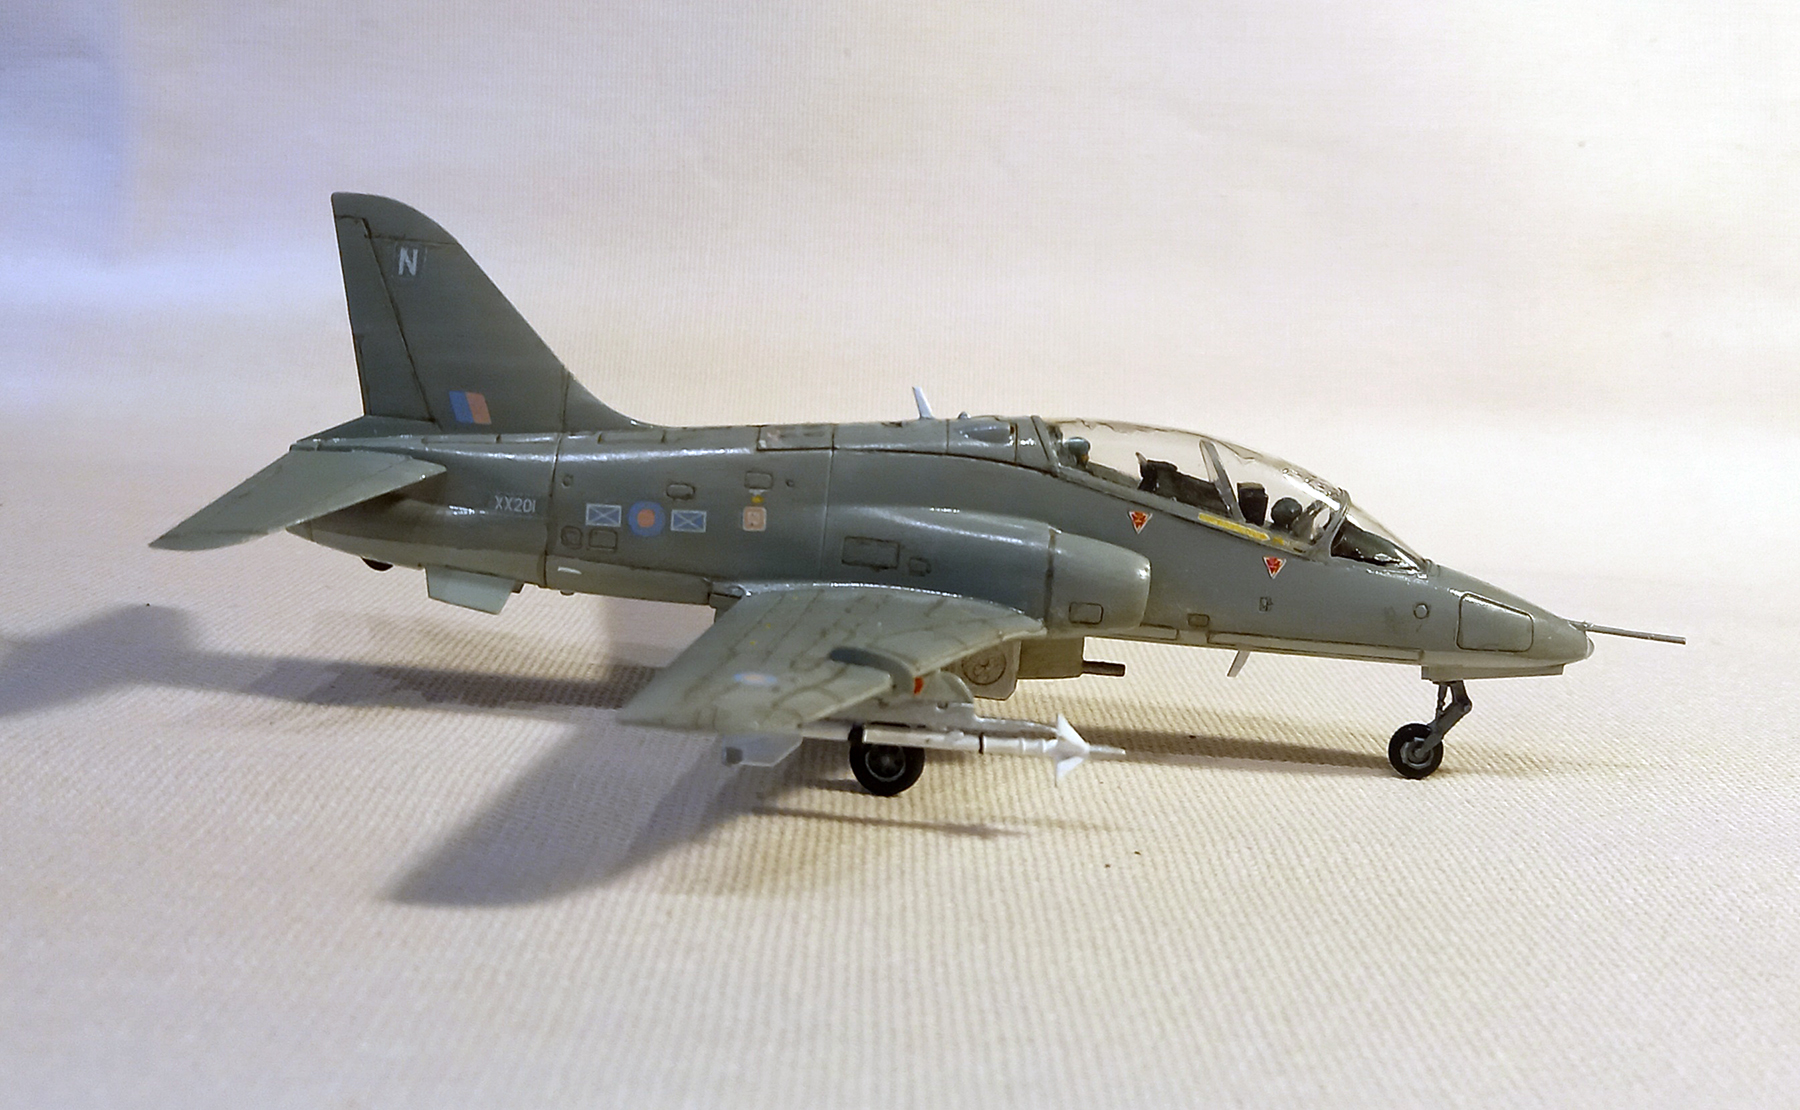
During my career as an aviation journalist/editor, I was fortunate to be flown in a Hawk three times and decided to depict to model as the aircraft in which I flew on 21 April 1988. At that time, a number of the Hawk fleet had a dual role as supplementary fighters, equipped with the 30mm gun pod on the centreline and a pair of AIM-9 Sidewinder air-to-air missiles. The concept was called the Mixed Fighter Force (MFF) and saw a pair of armed Hawks riding as “shotgun” to either a Phantom or the newly in-service Tornado F.3, the radar-equipped ‘real’ fighters offering targets to their wingmen. My flight was part of the MFF taking part in Exercise Elder Forest … and, believe it or not, we ‘shot down’ an intruding Jaguar!
Airfix produced its first kit of the Hawk in 1975 and since then have issued several iterations and re-tooled versions, many in Red Arrows livery, export markings and some of the more fanciful commemorative schemes. In many of them, the same basic sprues have been used – see the First Look at the BAe Hawk Series 100 (A03073) from 2009. This particular example is a re-issue of the T.1A/Mk.51 kit issued in 2010 with new decals, offering a camouflaged aircraft of 151 Sqn RAF in 1983 or an all-black version of 208 Sqn RAF in 2016. I used the 2010 reissue of the Airfix Hawk and, built out-of-the-box, it is fairly straightforward although some parts are delicate and require careful removal from the sprue and in some cases a little cleaning-up. The following notes trace my build sequence, at time departing from the kit instructions.

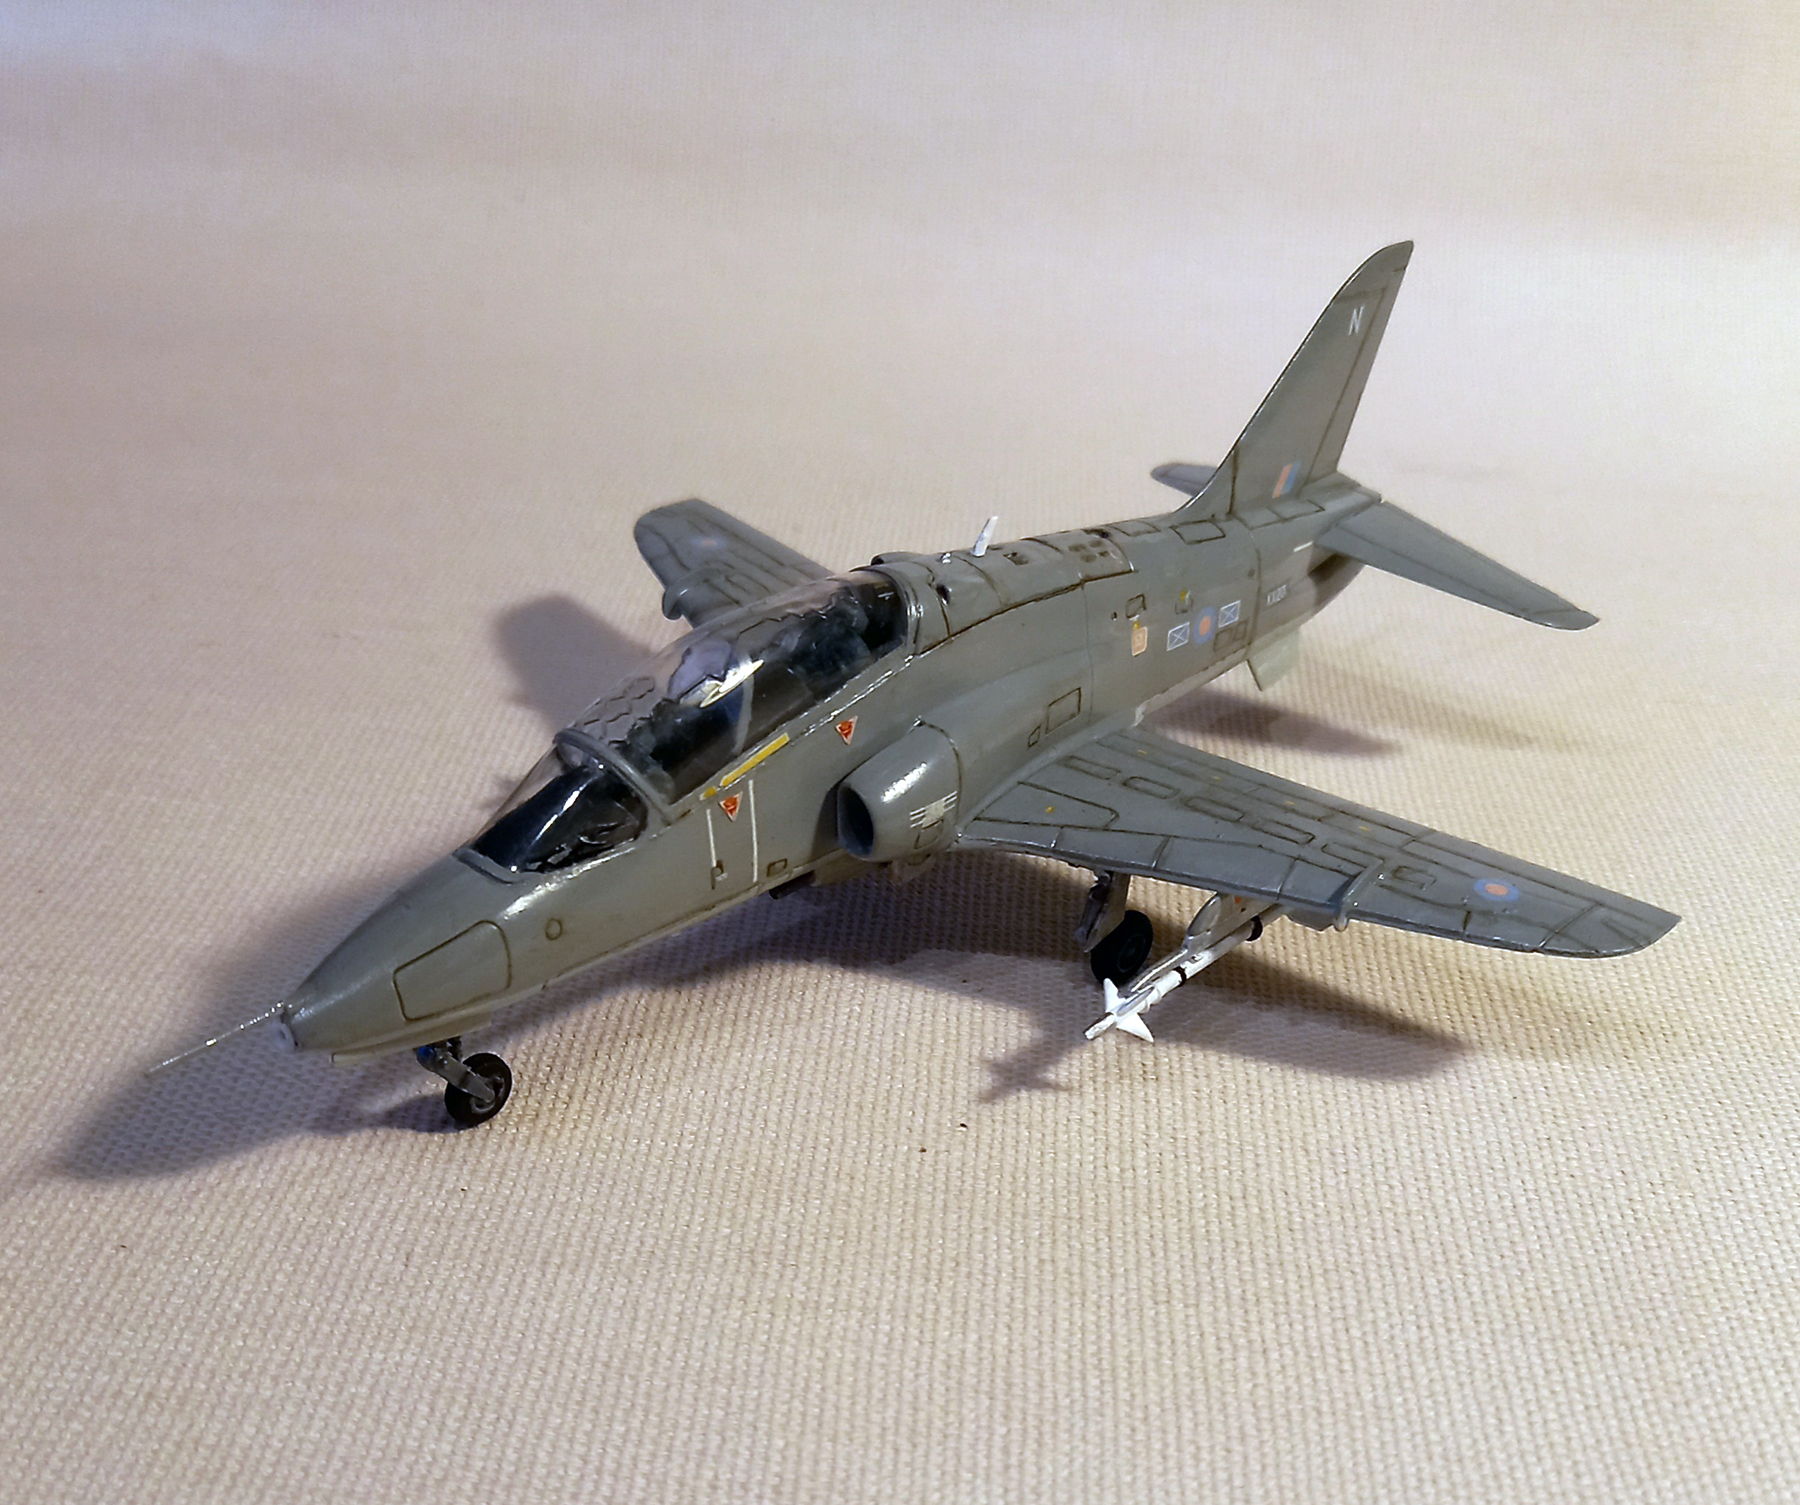
Stage 1: The two pilot figures (should you plan to use them – not every modeller does) require arms to be cemented in place, and pre-painting. Stage 2: The cockpit requires pre-painting in light grey, with the instrument panel decals being applied before dropping pre-painted ejection seats. Some modellers might wish to add straps onto the seats if no pilot figures are used. Stage 3: After cementing the front and rear bulkheads into place on the cockpit floor, dry-fit the assembly into the fuselage halves to ensure that they solidify at exactly the correct angle. I chose not to add the nosewheel undercarriage at this stage. Stage 4: Before cementing the cockpit assembly in place into the fuselage, the sides require painting, and don’t forget some nose weight or the jet pipe. Should you build the model in flying configuration, add the closed nosewheel door here. Stages 5 / 6 cover the air intakes assemblies, the interior of which was pre-painted. Stages 7 / 8 add the air intakes and central cockpit coaming, plus the head-up displays (found on the transparency sprue).
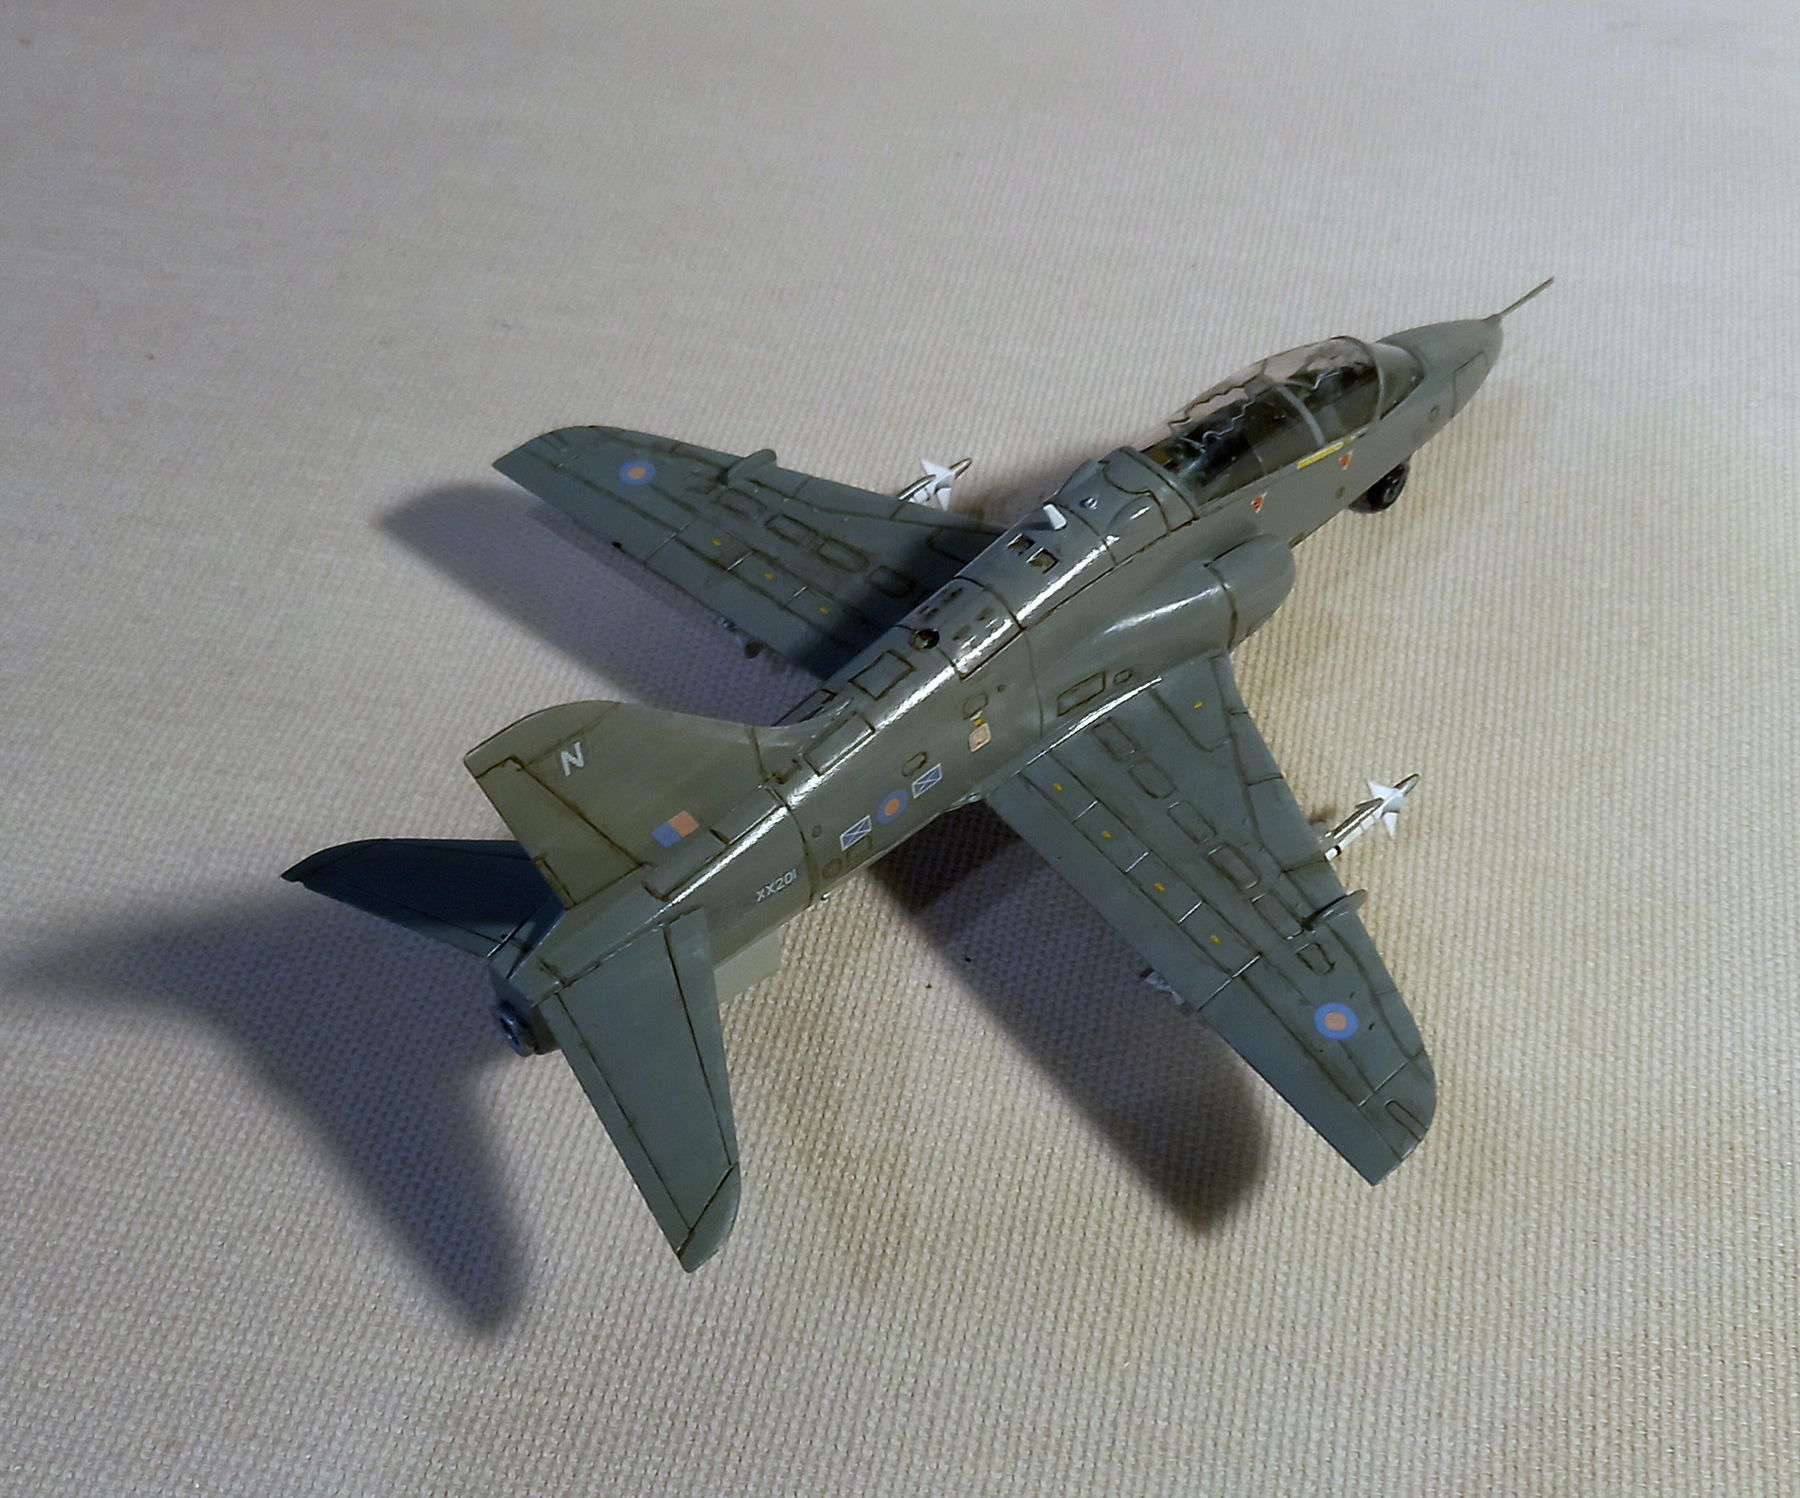
Moving on to the wing assembly (stages 9 / 10 / 11), if you wish to add the underwing pylons – inner only in this version – the locating holes in the lower wing need drilling out. I also added the actual pylons (19G/20G) from stage 22 at this point. Take care when adding the wing fences and underwing flap guides, which may need trimming after removal from the sprue. Stage 12: I chose not to add the pitot tube, nose light transparency and upper fuselage blade aerial – leaving them to add after painting and decal application. This stage also fits the canopy - I used Micro Kristal Klear. There is a dividing screen (4H) which is recommended to be cemented into the canopy (6H). Instead, I cemented the lower part to the pilot’s bulkhead, dry-fitting the canopy over it to ensure the part was correctly aligned, and painting the edge a light grey. Stage 13 offers the option of adding the airbrake open or closed – mine was fitted closed.
Stages 14 /15 covers the main undercarriage legs assembly which, once assembled, I pre-painted. Stages 16 / 17 covers fitting the main undercarriage and doors (21A/22A) and lower fuselage blade aerial (25B), which I left to add after painting and decal application. Alternatively, you could fit the closed undercarriage doors. Stages 18 through 22 covers the underwing stores. I fitted the centreline gun pod (stage 18) rather than the drop tanks, and one pair (of the two supplied) of Sidewinder missiles. Care is advised when assembling the rear fins onto the main body, and similarly the launch rails, all of which were pre-painted.
The model was then painted in the medium sea grey/Barley grey colour scheme, using Humbrol enamels applied by brush, and once fully dry I applied a coat of Johnson’s Klear (varnish) before applying the decals. I used the 151 Sqn markings from Modeldecal 115, with serial/code courtesy of a chum in my local IPMS branch (thanks Dave). Applying the multitude of small stencils markings was time-consuming and done in small batches, so as not to inadvertently move previously markings. Once all decals were applied, I applied another coat of Klear for an overall even finish. As the aircraft itself was in a somewhat dirty state, I used an acrylic wash supplied by my son – Citadel’s Agrax Earthshade (he paints Warhammer figures!). Once this process was completed, again time consuming, I was able to add the undercarriage, blade aerials (painted white), pitot tube and nose light to complete the model.
On this specific kit, you will be left with unused elements from a previous iteration of this model. These comprise two spare Sidewinders (which are actually good depictions), two pairs of drop tanks, a pair of wing pylons and a chaff/flare dispenser unit (which fit at the base of the fin, above the jet pipe), all of which are worth keeping for use elsewhere in your modelling.
As noted earlier, it’s a good kit which comes together well (although care is need preparing some assemblies), For me, I produced a model reminding me of an exciting flight some 35 years ago although, to be fair, we didn’t fly with live Sidewinders – that’s my ‘artistic licence’.