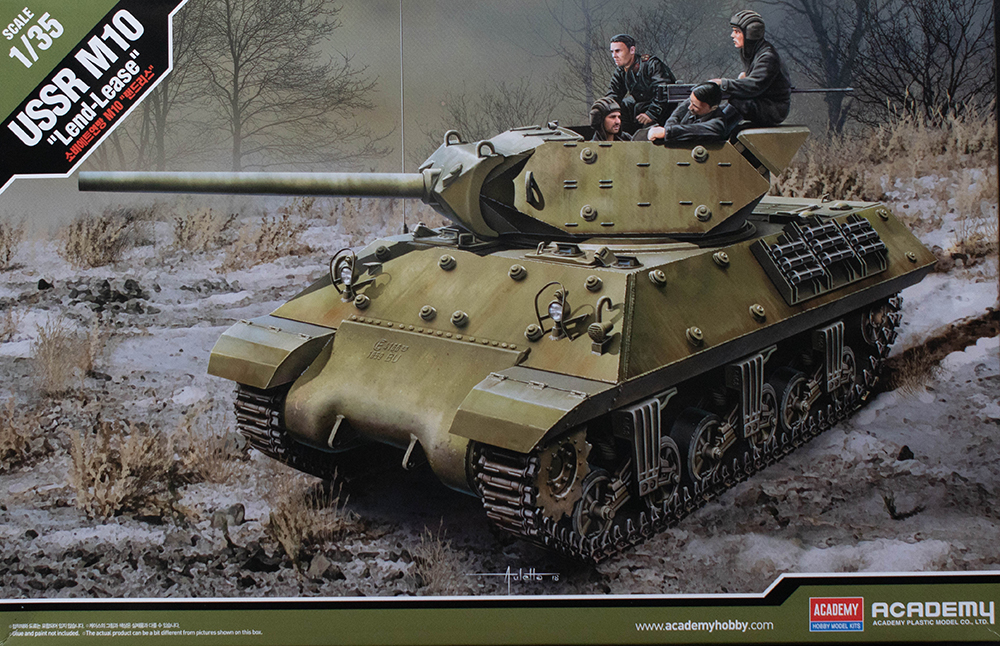
Academy 1/35 M10 GMC USSR (Lend-Lease) Kit Build Review
By Michael Benolkin
| Date of Review | January 2019 | Manufacturer | Academy |
|---|---|---|---|
| Subject | M10 GMC USSR (Lend-Lease) | Scale | 1/35 |
| Kit Number | 13521 | Primary Media | Styrene |
| Pros | Nice details | Cons | See text |
| Skill Level | Basic | MSRP (USD) | $56.00 |
Build Review
For a look at this kit out of the box, look here.
Though I have several projects on the bench as the 2018 holiday season approached, one in particular was frustrating to the point of my stopping work on all of the projects. Instead, I spent November and December working on website maintenance, but as the New Year approached, I knew it was time to get back on the bench. One look at that aggravating project led me to set everything aside and work on something different. Welcome to that project.
This is Academy's 1/35 M10 Gun Motor Carriage (GMC) which is a tank killer based upon the M4 Sherman chassis. This kit has been available for a number of years, and it even reveals its age with the nice molded-on outlines showing where pioneering tools and other details should be placed. Those are easily buffed off the hull during clean-up which will be done at the appropriate time. One other note, while there are many skilled modelers that will build their models almost to completion before applying any paint, I am one of those who will paint during the assembly process, particularly where there are interior details that need attention.
As with most armor projects, assembly on this kit starts with the lower hull to build up the suspension and road wheels. Assembly here is straightforward and here's the model after the first four steps. The lower hull is primed in black.
In steps 5 and 6, we focus on the transmission cover, transmission, driver and radio operator stations. No surprises here.
Steps 7-9 add the external transmission cover to the front of the lower hull, insert the forward interior, and assemble the rear platform/engine compartment bulkhead. There is a strip that mounts between the external transmission cover and the lower edge of the upper hull. The instructions call out part G10, but the correct part number is J10.
The major difference between this M10 release and past issues is the nice set of MasterBox crew figures. The instructions focus on the figures after the M10 is assembled, but that would not work well with the driver figure. I assembled the legs and torso of the driver to see how it fits in the driver station and I'm impressed. This figure is tailored for this kit with its feet posed over the two driver's foot pedals. I also dry-fit the upper hull to see how the head is going to work with the open hatch, and while it looks like it isn't going clear that opening, there's another armor plate that laminates to the front of the upper hull and will shift the upper hull aft, so it looks like everything is going to line up nicely.
The next step for the interior is a gloss-coat before I weather the compartment with dirt scuffs and dust. This build is going to represent a relatively new M10 freshly issued to a crew who are on their way to the front to hunt panzers.
To be continued...
My sincere thanks to MRC for this review sample!


